Why a Volunteer Name Badge Helps Volunteers Feel Official
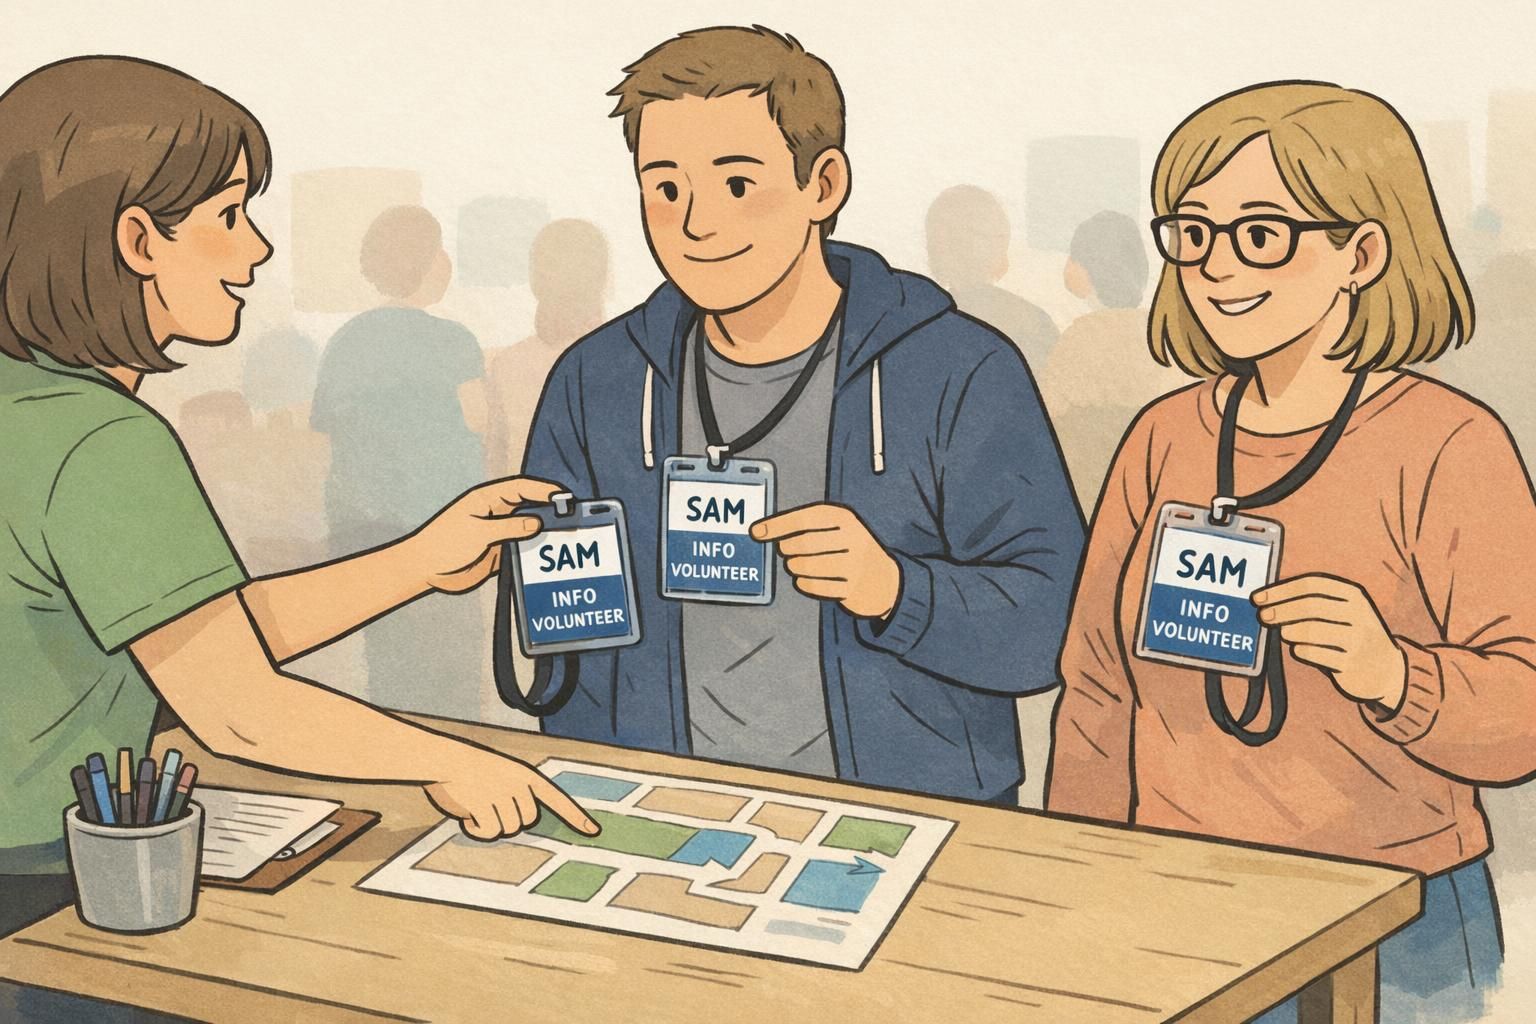
A volunteer name badge does more than display a name—it signals to everyone on-site that a person is part of the team and ready to help. That “official” feeling matters. Volunteers often step into a busy environment with strangers, unclear routines, and lots of small, time-sensitive questions. A clear badge reduces uncertainty and helps volunteers confidently approach guests, staff, and other volunteers.
For attendees, the value is even simpler: quick identification. When people can instantly spot official helpers, questions get answered faster, check-in flows better, and small problems are resolved before they become bigger ones. Instead of awkward introductions (“Do you work here?”), a badge gives a friendly, immediate starting point: a name and a role.
When a volunteer name badge is easy to read and consistent across the team, it improves coordination while also making volunteers feel recognized and prepared to represent the organization.
- Faster wayfinding: guests know who to approach without guessing
- Smoother teamwork: volunteers can quickly find the right person for a handoff
- Less social friction: name + role reduces repeated introductions
- More pride and confidence: volunteers feel included as part of an organized operation
Fast Identification at Busy Events: Roles People Can Spot in Seconds
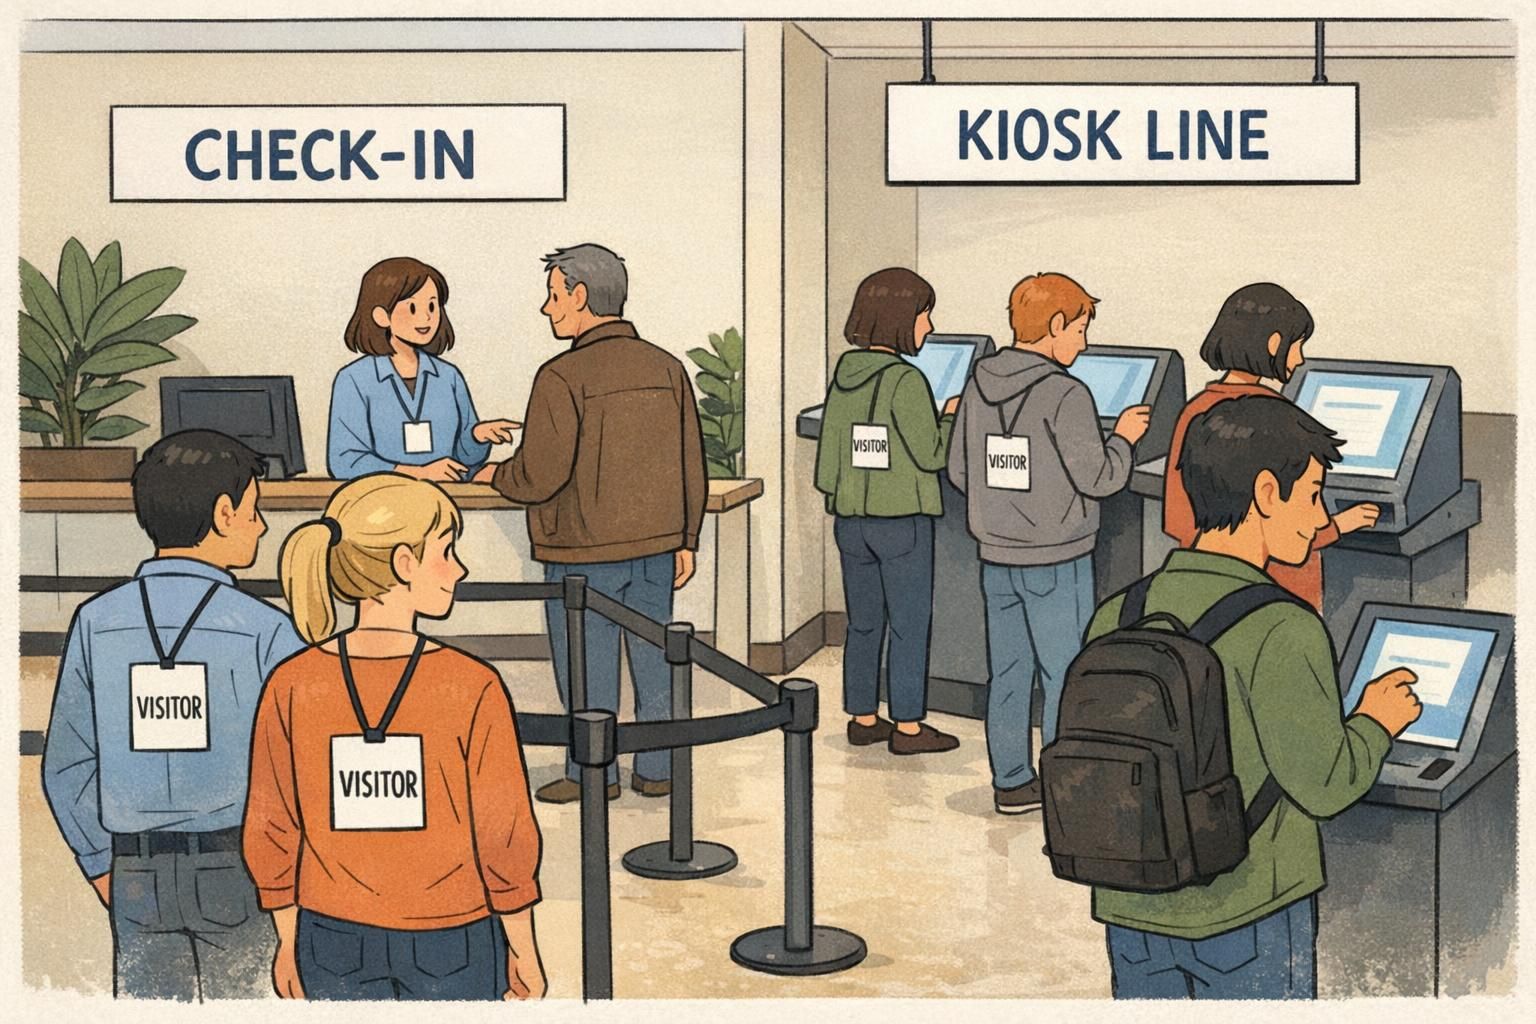
At crowded events, people read badges in motion—from a few feet away, often at an angle, and usually while juggling other tasks. The goal is quick scanning: attendees should know who to approach without needing to ask three different people. Clear role labels support faster decisions (“I need CHECK-IN”) and reduce interruptions to behind-the-scenes volunteers who may not be guest-facing.
Start with role names that match how guests naturally ask for help. Short, familiar words work best, and the same role wording should appear everywhere: volunteer briefings, directional signage, and printed IDs. Consistency prevents the common on-site confusion where signage says “INFORMATION” but badges say “HELP DESK,” or volunteers are told one label while the badge shows another.
- CHECK-IN
- USHER
- INFO
- SECURITY LIAISON
- MEDICAL
- RUNNER
- BACKSTAGE
- FLOAT
If you use color-coding, consider separating guest-facing roles from behind-the-scenes roles so crowds can self-direct. Keep the system simple enough that it still works when someone is tired or the lobby is loud.

Event Volunteer ID Essentials: What Information to Include (and What to Skip)
A strong event volunteer ID is built around readability. In most public-facing situations, you don’t need a dense credential card—you need a clean, fast-to-understand layout. Think of it as a quick-reference tool for guests and a coordination tool for the team.
For many events, the essentials are: a first name, a role label, and the organization or event name. If your environment is high-traffic or access-controlled, adding a headshot can reduce uncertainty and speed up verification. For multi-day events, adding a date or day-of-week helps prevent yesterday’s badge from creating confusion today.
- Include: first name (largest text), role label (second largest), organization/event name (smaller)
- Add when needed: headshot for access-controlled or high-traffic settings
- Add when needed: date/day-of-week for multi-day or multi-shift operations
- Use clear access markers for restricted areas (for example, “STAFF ONLY AREA”) rather than vague wording
What to skip is just as important. Long titles, paragraphs, and multiple lines of credentials reduce readability. If someone has to lean in to decode the badge, it’s not doing its job. A simple event volunteer ID also helps volunteers feel more comfortable—especially in community settings where people don’t want to display unnecessary personal details.
Often, a first name and role are enough for guest interactions. If your setting requires more formality or there are many volunteers with the same first name, you can add a last initial instead of a full last name.
Only if it meaningfully improves security or reduces confusion in a high-traffic or access-controlled environment. For many community events, photos are optional.
Design Choices That Improve Scanning, Pride, and Professionalism
Good design makes a badge readable from a few feet away and makes volunteers feel like they’re part of a coordinated team. Prioritize large type for the name and role, and keep contrast strong—dark text on a light background is usually easiest to scan quickly in real-world lighting.
If you add icons (like an “i” for INFO), treat them as a supporting cue, not the main message. Words should win at a glance, especially when guests are unfamiliar with your icon system. Also consider the environment: outdoor events benefit from moisture-resistant holders, while conferences often favor a clean, minimalist look that matches a professional setting.
- Name: largest text on the badge
- Role: second-largest text, short and consistent across your event
- Contrast: prioritize readability over decoration
- Layout: leave breathing room; avoid crowding the edges
- Durability: match holders and materials to indoor/outdoor conditions
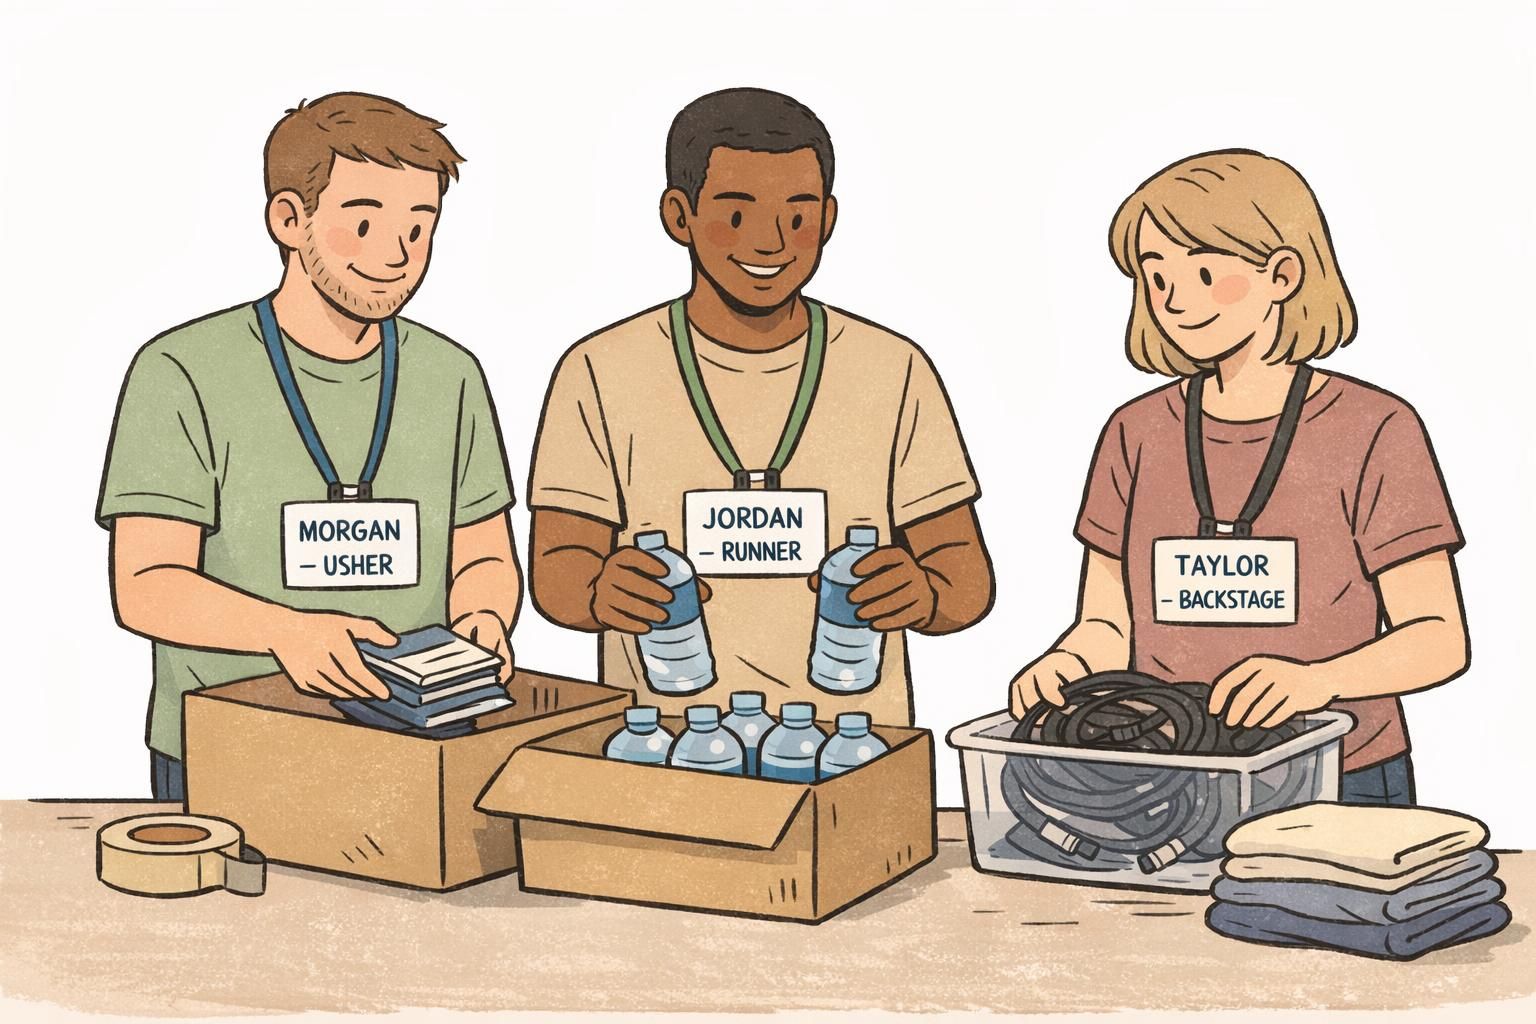
“When the badge is easy to read, volunteers stop feeling like they have to prove they belong. They can focus on helping.” – Volunteer Coordinator
Volunteer Recognition That Sticks: Levels, Milestones, and Ongoing Thanks
Volunteer recognition works best when it’s timely and repeated, not only saved for an annual ceremony. Small moments of appreciation—paired with visible signals of progress—help volunteers feel seen and encourage them to stay involved. Research on volunteer engagement and retention also supports the idea that ongoing recognition and supportive management practices can strengthen commitment over time (source).
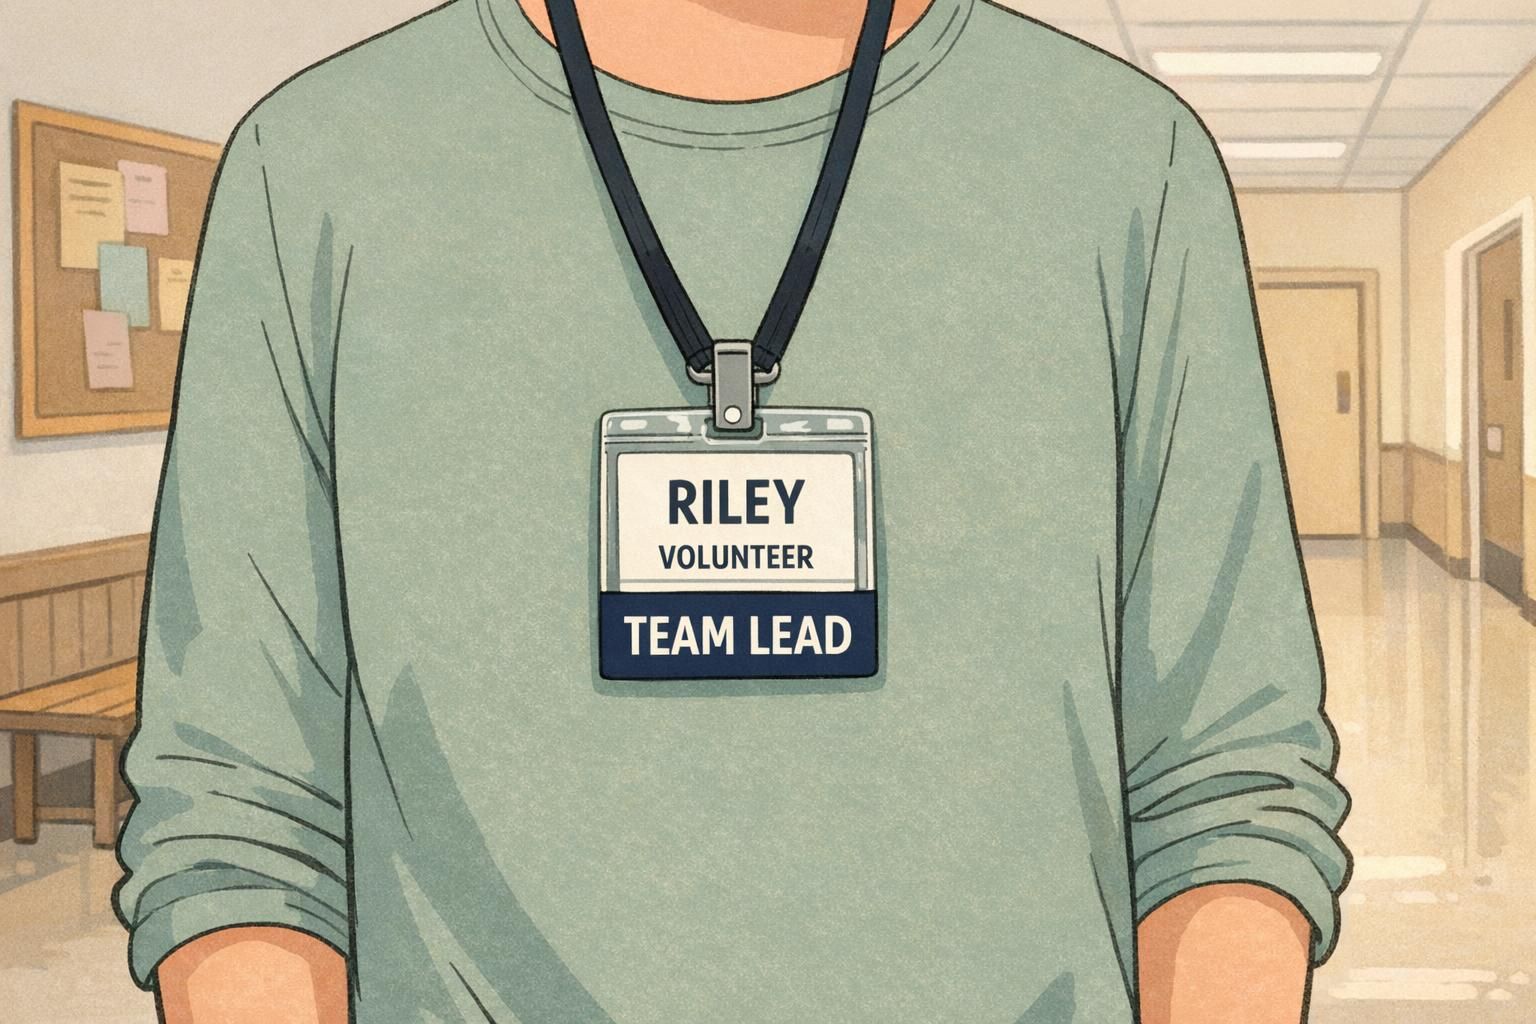
One practical approach is to create recognition versions of the badge or add-ons that mark milestones. These can be simple and motivating: a “10 HOURS” marker, a “50 HOURS” marker, or tiered labels like BRONZE, SILVER, and GOLD. Returning volunteers may appreciate a subtle experience marker such as “TEAM LEAD” or “5-YEAR VOLUNTEER.” Beyond pride, these cues also help attendees quickly identify seasoned helpers when they need fast answers.
- Milestone labels: 10 HOURS, 50 HOURS, 100 HOURS
- Tiered recognition: BRONZE, SILVER, GOLD
- Experience markers: TEAM LEAD, SHIFT CAPTAIN, 5-YEAR VOLUNTEER
- Simple practices: end-of-shift thank-you, quick note from a coordinator, consistent acknowledgment in briefings
Keep recognition authentic to your community. A simple, consistent “thank you” plus an earned milestone marker often lands better than a one-time big moment.
Issuing and Managing Volunteer Badges: Simple Processes That Prevent Confusion
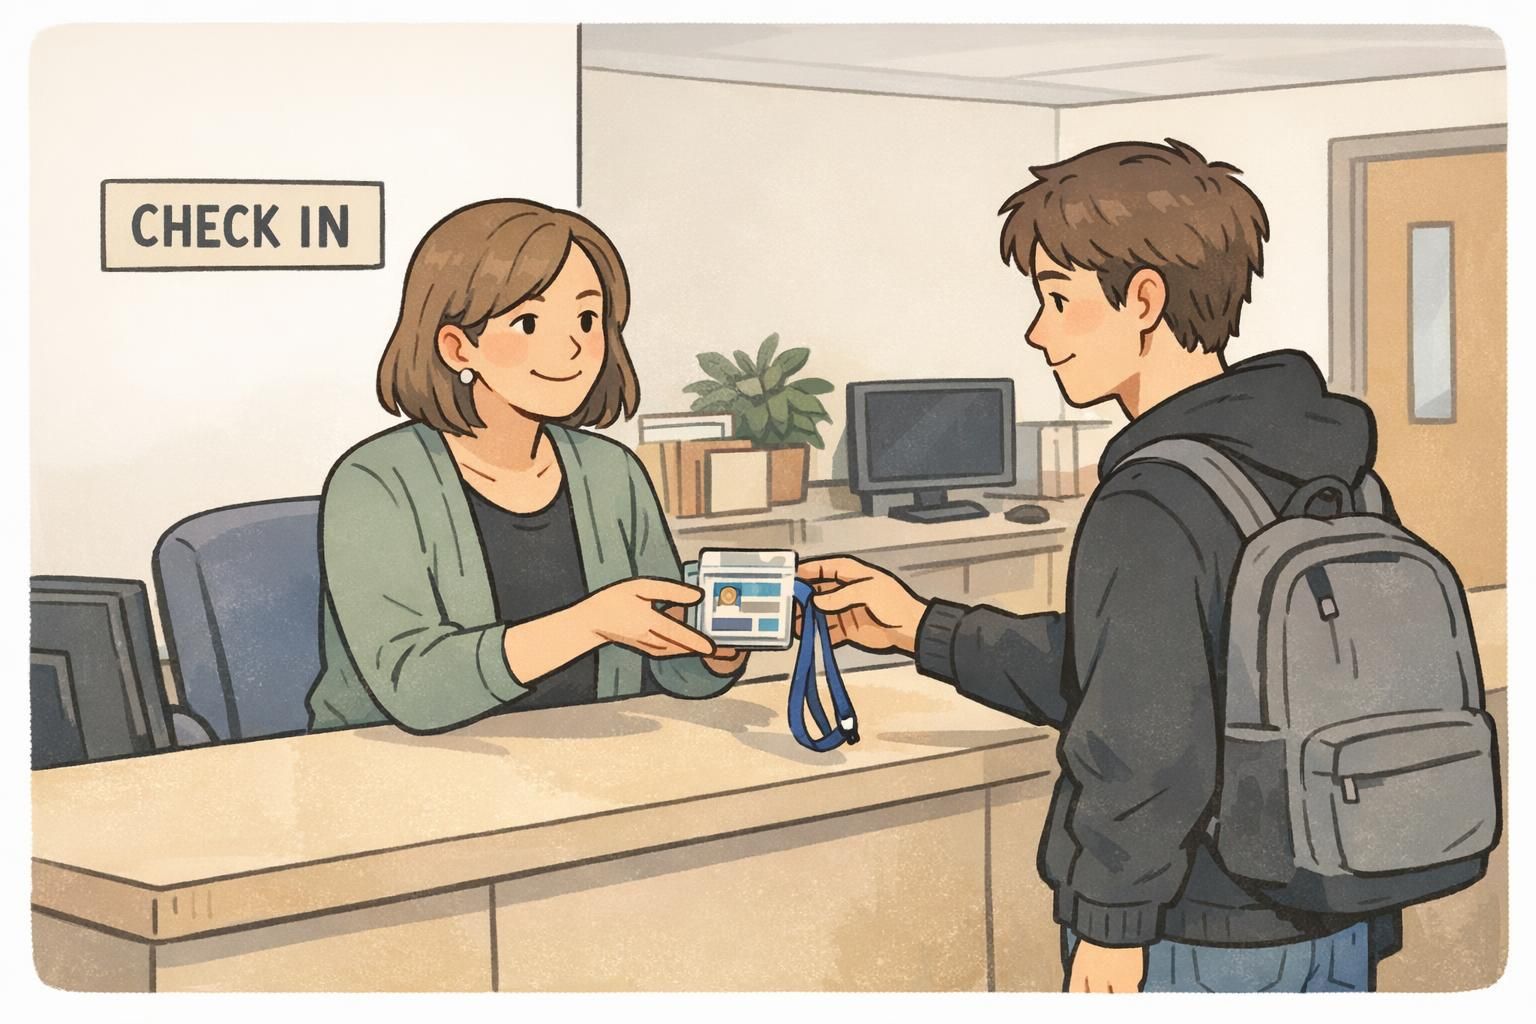
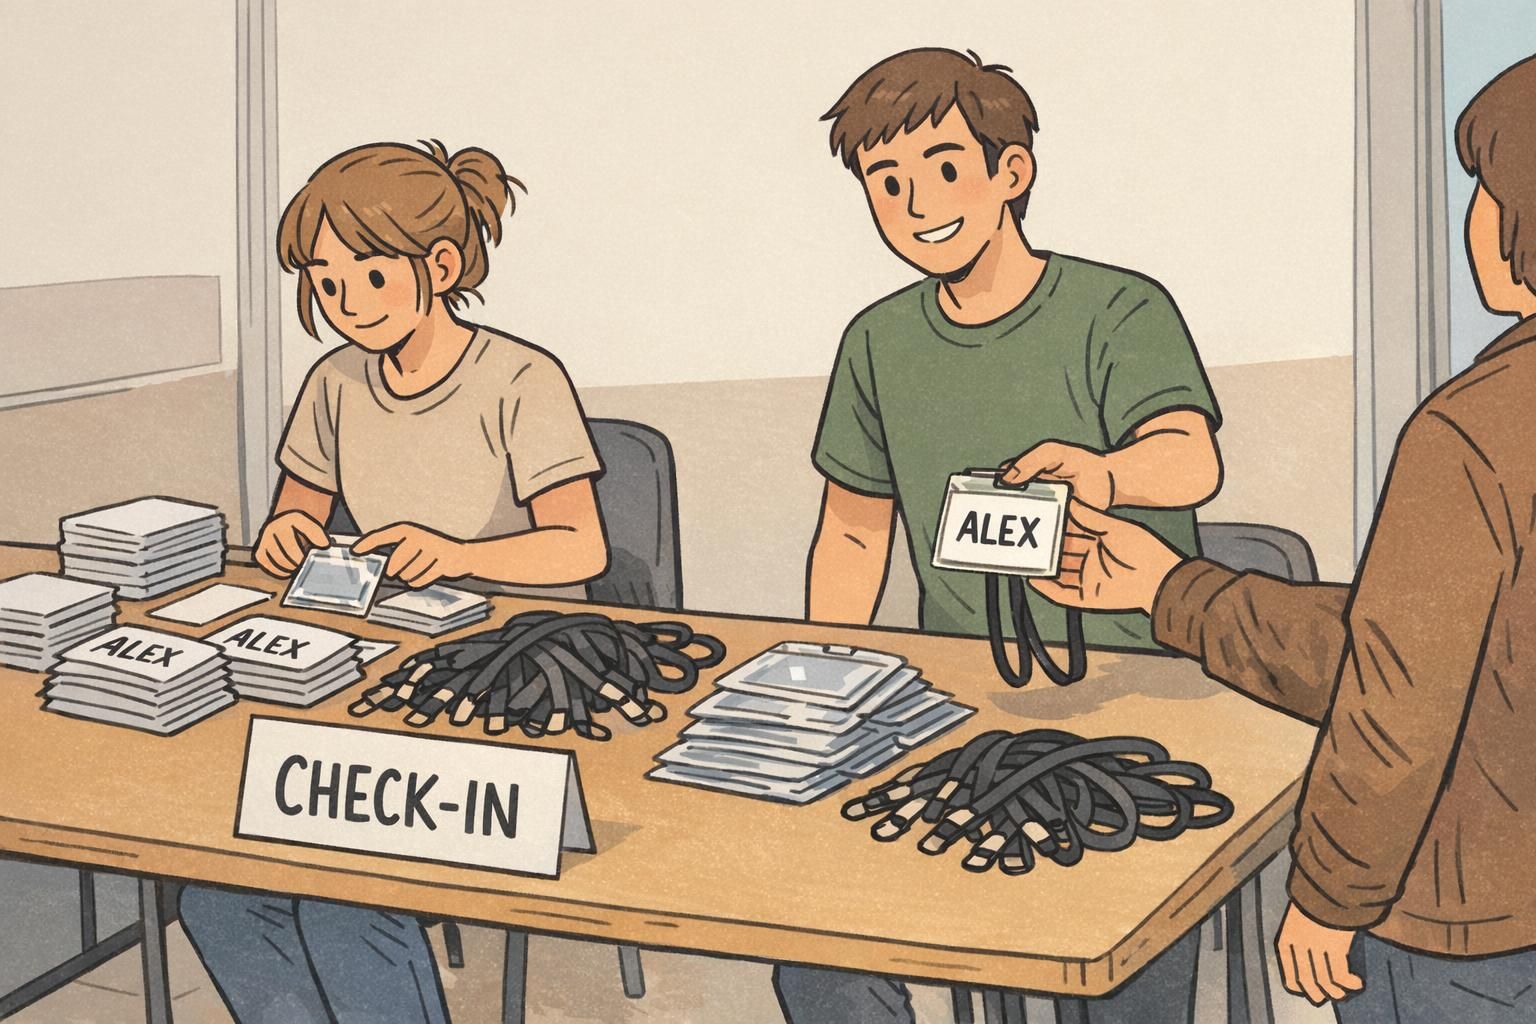
Even a well-designed badge can create frustration if distribution is messy. A simple issuing process prevents duplicates, mismatched roles, and last-minute scrambling. The best systems are easy to explain in a single sentence at check-in: “Find your name, confirm your role, take your badge, and return it here at the end of your shift.”
Before the event, decide who approves roles, how you’ll handle last-minute volunteers, and where badges are picked up and returned. Then match your check-in list to badge printing (or pre-filled inserts) so the right role label goes to the right person. For multi-shift programs, consider distinct badge colors by day, or a clear “TODAY” indicator, so yesterday’s badge doesn’t accidentally circulate.
- Pre-event: confirm roles and create a single source-of-truth roster
- Print/assemble: match the roster exactly; avoid ad hoc role naming
- Check-in: verify identity (as needed), hand out the correct badge, note issuance
- During event: keep a small kit of replacement holders/clips and spare role inserts
- Return: collect badges in one location; store by role for faster reuse later
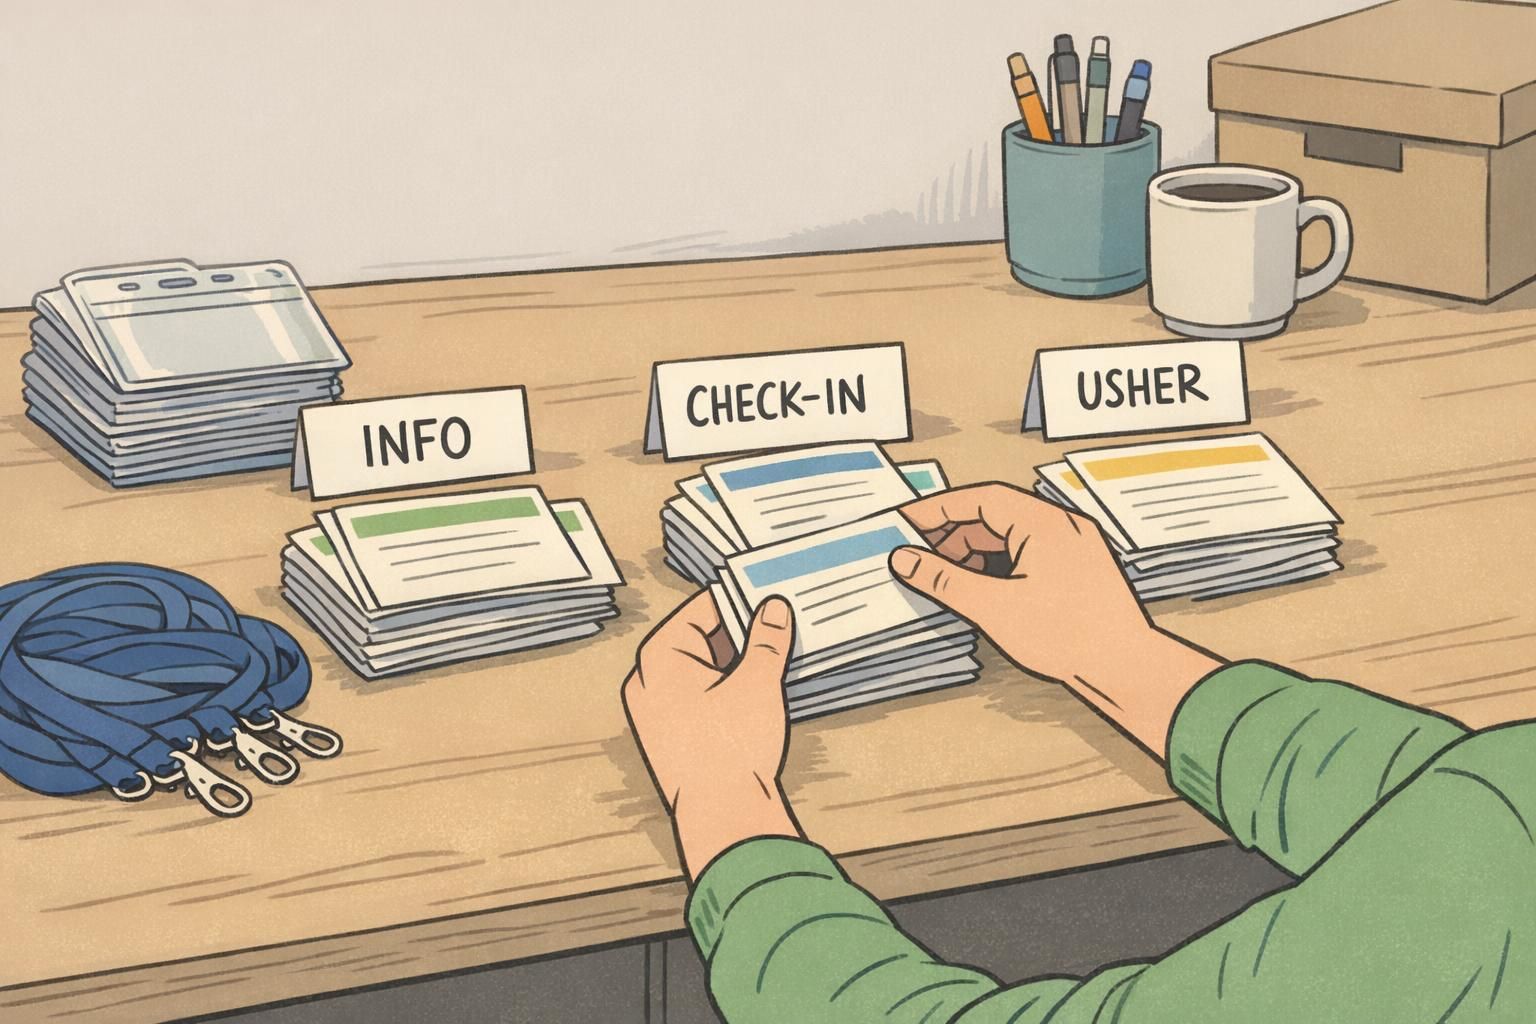
Keep a small set of generic “VOLUNTEER” badges plus a few common role inserts (INFO, USHER, CHECK-IN). Assign a role at check-in, then record it on the roster so the same person receives the same label for the rest of the event.
If badges are reusable, yes—returning them prevents mix-ups and keeps supplies organized. For single-day events with disposable badges, a return process may be optional.
Choosing Formats: Name Tags, ID Cards, Lanyards, and Badge Buddies
The best format is the one volunteers will actually wear comfortably all day while staying readable. A roaming role often benefits from a lanyard because it stays visible while moving. Hands-on roles (setup, food service, activities) may prefer clips so nothing dangles into equipment or supplies.
Badge buddies are a simple upgrade when you need larger, at-a-glance role visibility. They sit behind the main ID and can display a bold role or status (like TEAM LEAD) without cluttering the front of the card. This keeps the core design consistent while making it easier for guests and staff to scan for the right help in a crowd.
- Lanyards: convenient for roaming, guest-facing roles; highly visible
- Clips: good for hands-on work; less movement and snagging
- Event badges: lightweight and practical for short, one-time events
- Durable ID cards: better for ongoing programs where badges are reused
- Badge buddies: big role labels for fast scanning while keeping the main ID clean
If you’re deciding between formats, prioritize two things: visibility for guests and comfort for volunteers. The most “official” badge is the one that stays on and stays readable.
Product Options for Volunteer IDs and Role Labels (Linkable)
If your organization runs multiple events or operates an ongoing volunteer program, standardizing templates and components can make distribution much easier. A consistent system helps ensure every badge follows the same layout, so guests learn quickly where to look for the name and the role.
Many teams use a base ID plus role label add-ons when they need bigger, at-a-glance role visibility—especially in crowded lobbies, school events, or festival settings. If you’re exploring options for volunteer ID cards and event badges, you can review volunteer ID cards and event badges and choose formats and holders that match your environment.
For small test runs, it can help to start with a limited set of roles and a single template, then expand once you see how people move through the space and where questions cluster. If you need small quantities for a pilot, it’s also useful to know some suppliers (including BadgeZoo) offer no minimum order quantity—so you can refine your approach without over-ordering.

A clear badge system supports two outcomes at once: guests get faster help, and volunteers feel like trusted representatives of the mission.